Summary: Looking for a heartfelt, handmade gift idea that’s both beautiful and personal? These custom glass coasters are the perfect DIY project! All you need are beveled glass tiles, metallic tape, rubber feet, and small keepsakes like photos, restaurant memorabilia, dried flowers, or handwritten notes. Just sandwich your items between two glass tiles, seal the edges with tape, and add feet for a polished, functional finish. Not only are they easy to make, but they’re also a thoughtful way to preserve special memories—and they make amazing gifts for anniversaries, birthdays, housewarmings, or any occasion worth celebrating. I made these coasters for my boyfriend to celebrate our time in Newport, Rhode Island and featured logos from our favorite spots: Clarke Cooke House, One Pelham East, Perro Salado, Bar ‘Cino, Custom House Coffee, Cru Café, and O’Brien’s Pub.
Some of the best gifts are the ones that tell a story. They aren’t just things—they’re reminders of places, experiences, and moments worth remembering.
For six months, my boyfriend and I lived in Newport, Rhode Island, a place filled with coastal charm, history, and—perhaps most memorably—some of the best restaurants and cafés. One of our favorite things to do was simply go out to eat, exploring new flavors and soaking in the unique atmosphere of each spot.
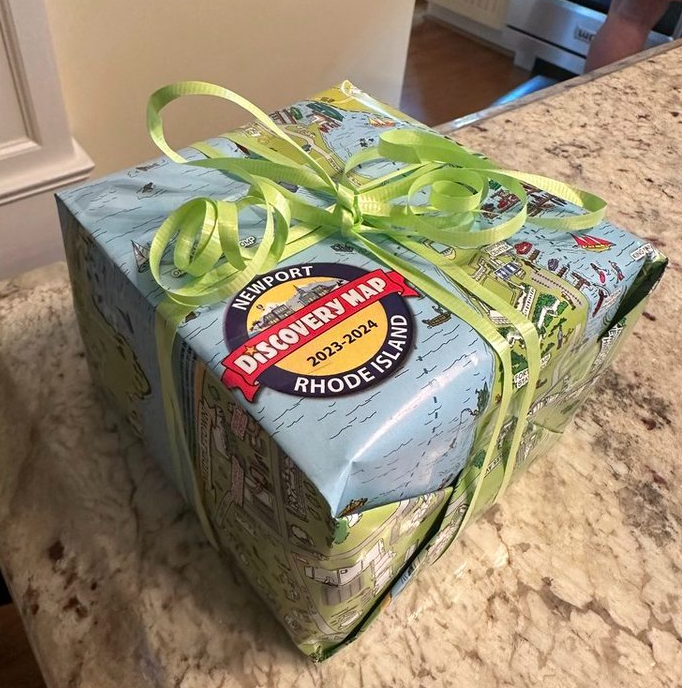
When we moved away, I wanted to create something special that would remind him of those unforgettable meals and late-night drinks, the cozy café mornings, and the lively energy of our favorite haunts. That’s how these custom glass coasters came to be—a housewarming gift made with emblems from seven of our favorite Newport restaurants and coffee shops.
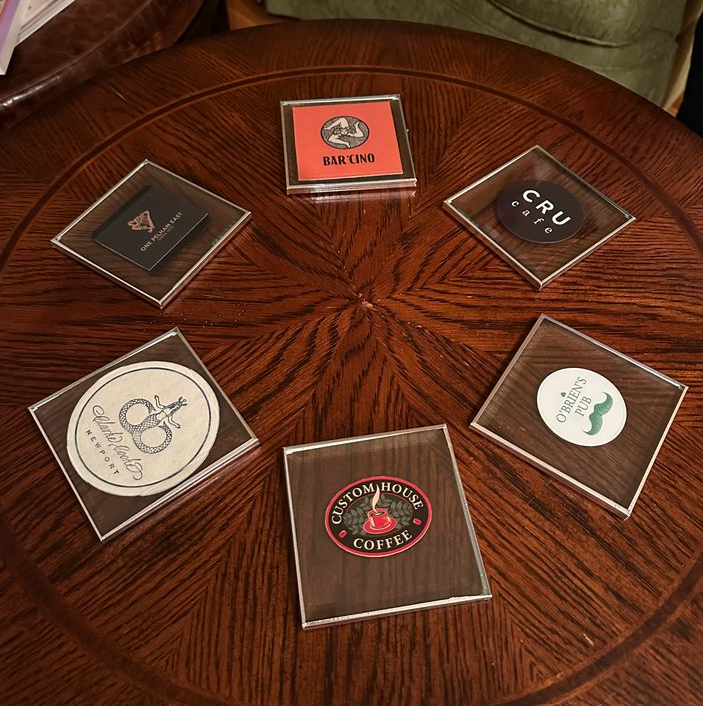
Now, every time we set down a drink, we’re reminded of our favorite Newport establishments:
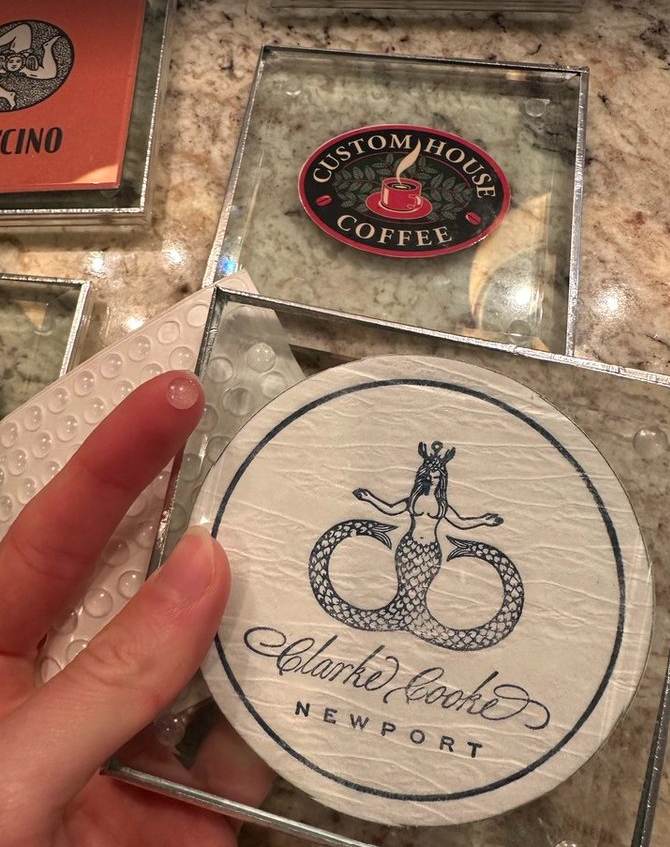
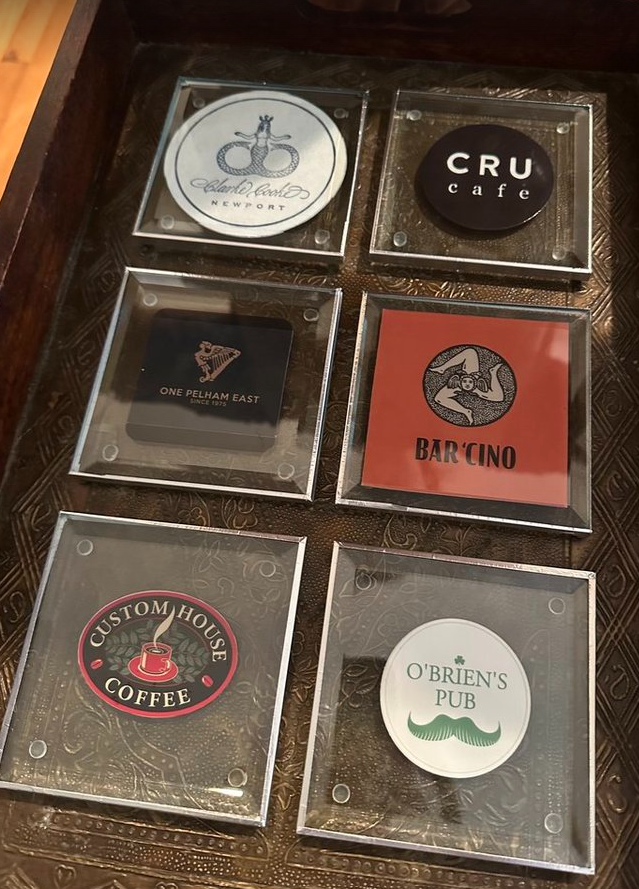
- Clarke Cooke House – The legendary Newport staple, where candlelit dinners and lively nights on the dance floor made every visit special.
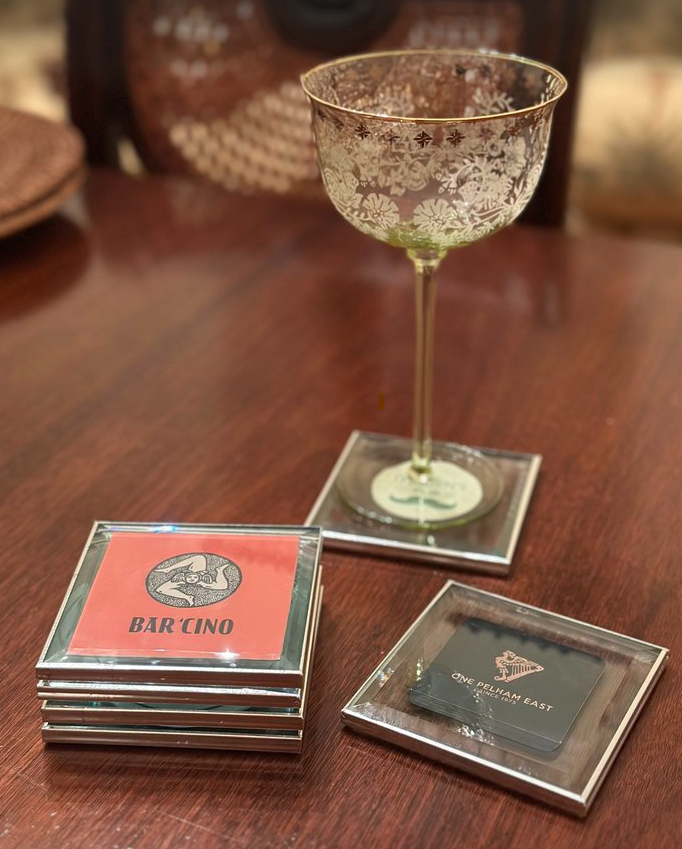
- One Pelham East – A go-to for live music and late nights, where the energy of Thames Street spills inside, making for an unforgettable night out.
- Perro Salado – The perfect cozy spot for margaritas and fresh, flavorful Mexican food—always bustling, always delicious.
- Bar ‘Cino – A casual Italian eatery where the pastas and pizzas never disappointed, and the outdoor seating made every meal feel like a mini getaway.
- Custom House Coffee – The place for slow mornings, where a warm latte and a quiet corner made for the best start to the day.
- Cru Café – A charming brunch and lunch favorite, where the avocado toast and fresh salads kept us coming back for more.
- O’Brien’s Pub – The classic pub with a laid-back atmosphere, where casual beers and burgers in the outdoor courtyard made it the perfect end to an afternoon stroll.
I loved the idea of turning these memories into something we could use every day, rather than just looking back on them in photos. Whether you’re preserving memories from a special time, showcasing a personal collection, or creating a meaningful gift, these handmade glass coasters are a simple yet elegant project that you’ll treasure for years to come.
I think this is an amazing gift Idea for any adult to celebrate any occasion! Whether an anniversary, valentines day, or birthday…. I can think of so many ideas to make these custom for any family member, partner, or friend.
Materials You’ll Need
- 12 beveled glass tiles (you’ll use two per coaster)
- Sturdy metallic tape – I used silver, but I recommend copper or bronze to complement your home’s accent colors
- Self-adhesive clear rubber feet (to prevent slipping)
- Items for inside the coasters – Get creative! Use restaurant memorabilia like I did, or try dried flowers, handwritten notes, photos, or pressed leaves.
How to Make Your Custom Glass Coasters
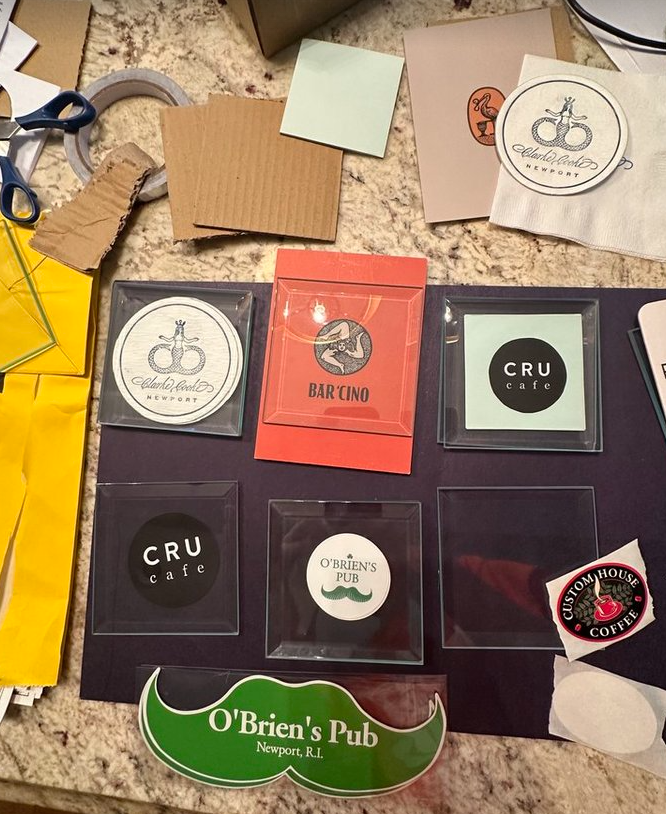
Step 1: Collect Your Memorabilia
Gather small, flat items that hold meaning for you—whether it’s a restaurant napkin, a vintage postcard, dried flowers, or even snippets from a love letter. If you’re making a set to remember a favorite place, consider picking up things like menus, paper coasters, coffee sleeves, stickers, or even business cards—all of which fit beautifully inside the glass.
Step 2: Assemble the Coaster Layers
Lay one beveled glass tile flat-side up. Arrange your chosen item(s) on top, making sure they fit neatly within the edges.
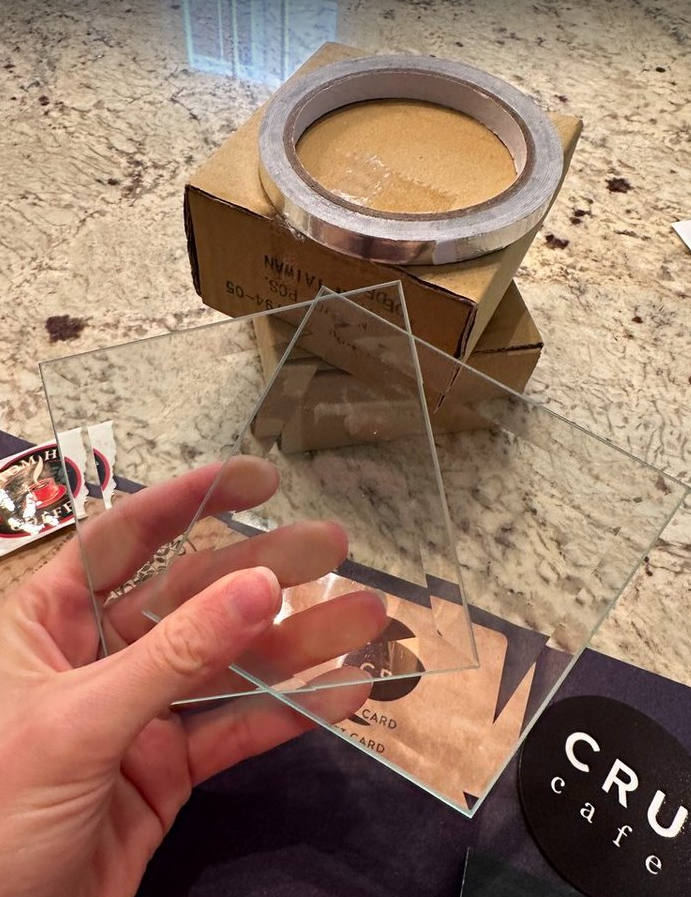
Step 3: Sandwich the Glass Tiles
Place a second beveled glass tile on top, flat-side down, so that the items are securely enclosed between the two pieces of glass.
Step 4: Secure with Tape
This step is much easier with an extra set of hands! Press down gently in the center to keep the glass in place. Align the metallic tape along the edges and slowly wrap it around, securing the two tiles together while keeping the edges even and neat.
Step 5: Add the Rubber Feet
Attach self-adhesive rubber feet to the underside of each coaster so they rest evenly on a surface without sliding.
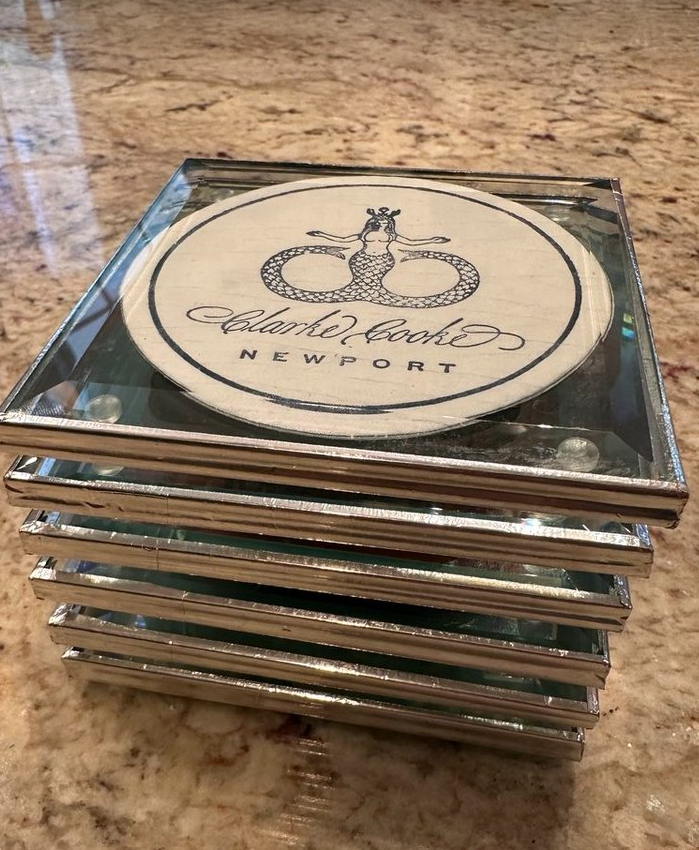
A Handmade Gift That Lasts
I was a little bit worried about how these coasters would hold up just because I’d never crafted something like this before, but I’ve been using these coasters for six months now, and they’ve held up beautifully! The only issue i’ve had is that the adhesive rubber feet that I bought occasionally come off, so I’d recommend opting for the best quality ones you can find. But not only do they add a stylish touch to our space, but they also spark conversations and bring back wonderful memories every time we use them.
What I love most is how versatile this project is. While I chose to highlight our favorite Newport restaurants, you could use this technique for just about anything—a wedding, a special vacation, or even dried flowers from an important moment.
Next, I plan to make another set using dried flower petals from a special event, and I can’t wait to see how they turn out. This project has been such a hit, and I know you’ll love it too!
Let me know if you try making your own—what will you put inside your custom coasters?